NodeZero: Testing for Exploitability of Palo Alto Networks CVE-2024-3400
On April 12 (and then updated again on April 20), Palo Alto Networks released an advisory about a vulnerability in the PAN-OS® software that runs Palo Alto Networks® Next-Generation Firewalls (NGFWs). In the advisory it said, “A command injection as a result of arbitrary file creation vulnerability in the GlobalProtect feature of Palo Alto Networks PAN-OS software for specific PAN-OS versions and distinct feature configurations may enable an unauthenticated attacker to execute arbitrary code with root privileges on the firewall.”
A vulnerability that allows for the execution of arbitrary code with root privileges would be deemed critical since it would effectively allow an attacker to gain control over a device, and in this case, Palo Alto NGFWs running the vulnerable PAN-OS.
According to Shadowserver, there are several thousand internet-accessible Palo Alto Networks firewalls potentially affected by the vulnerability. Palo Alto Cloud NGFW, Panorama appliances, and Prisma Access are not impacted by this vulnerability.
Horizon3.ai’s Rapid Response Advisory
On April 12 at 8:55AM EDT, Horizon3.ai sent all customers the beamer notification below via the NodeZero portal warning of the vulnerability, the fact it had been observed being exploited in the wild, saying that the Horizon3 Attack Team would continue to monitor the situation closely, and would provide updates as soon as possible.
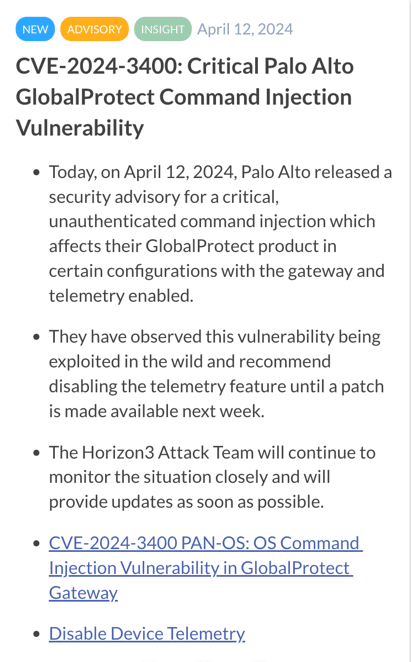
Rapid Response Customer Notification #1
Horizon3.ai Announces Rapid Response New Attack Content
On Saturday, April 20 at 7:20 PM EDT, Horizon3.ai sent all customers the beamer notification below about NodeZero now having an exploit available so organizations can test for ‘exploitability’ of the vulnerability in their environments.
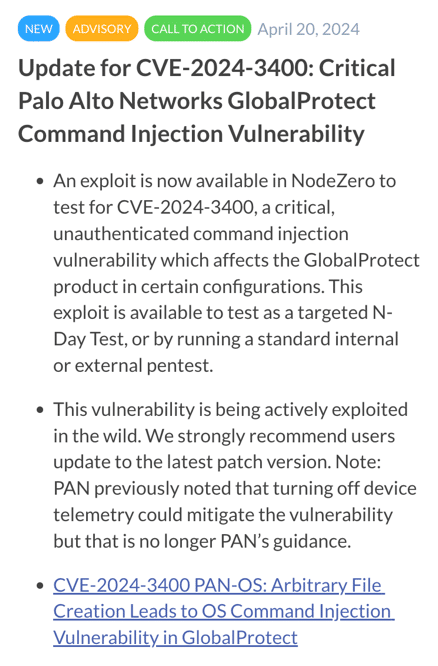
Rapid Response Customer Notification #2
NodeZero N-Day Test Available for CVE-2024-3400
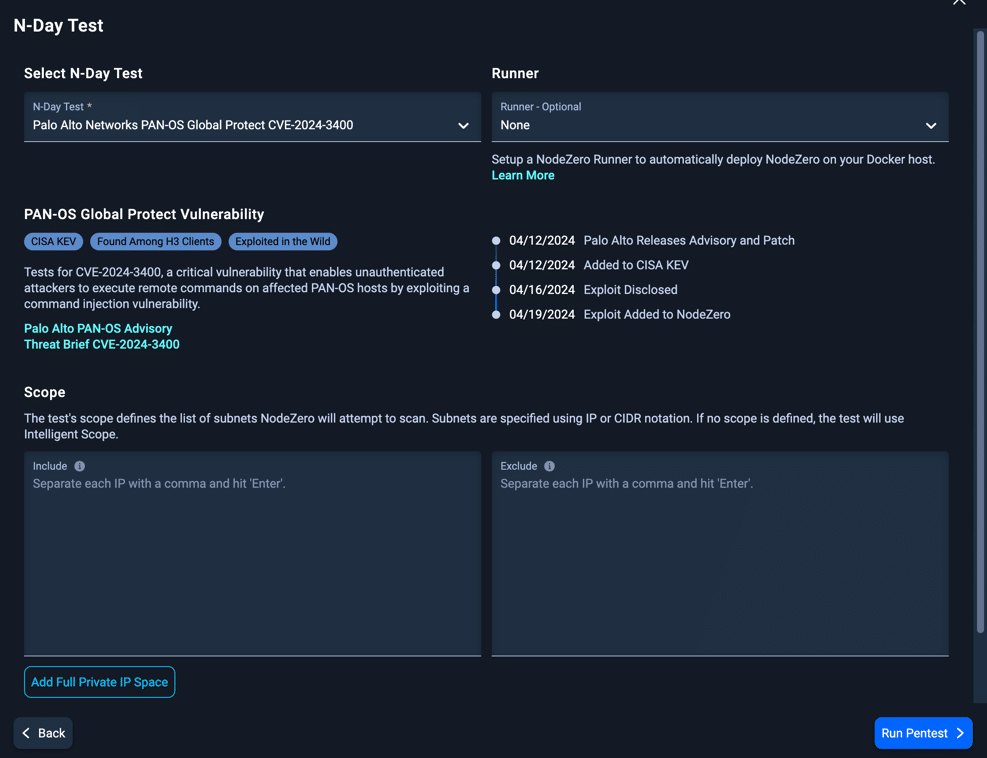
The exploit developed by Horizon3.ai’s attack team is available on NodeZero to run as a targeted N-Day Test (or by running a standard internal or external pentest) using the configuration screen as shown below. Organizations can quickly determine if they are at risk of exploitation due to the known vulnerability – prior to patching their Palo Alto NGFWs. Organizations can also rerun the test after patching to verify the vulnerability is no longer exploitable in their environments.
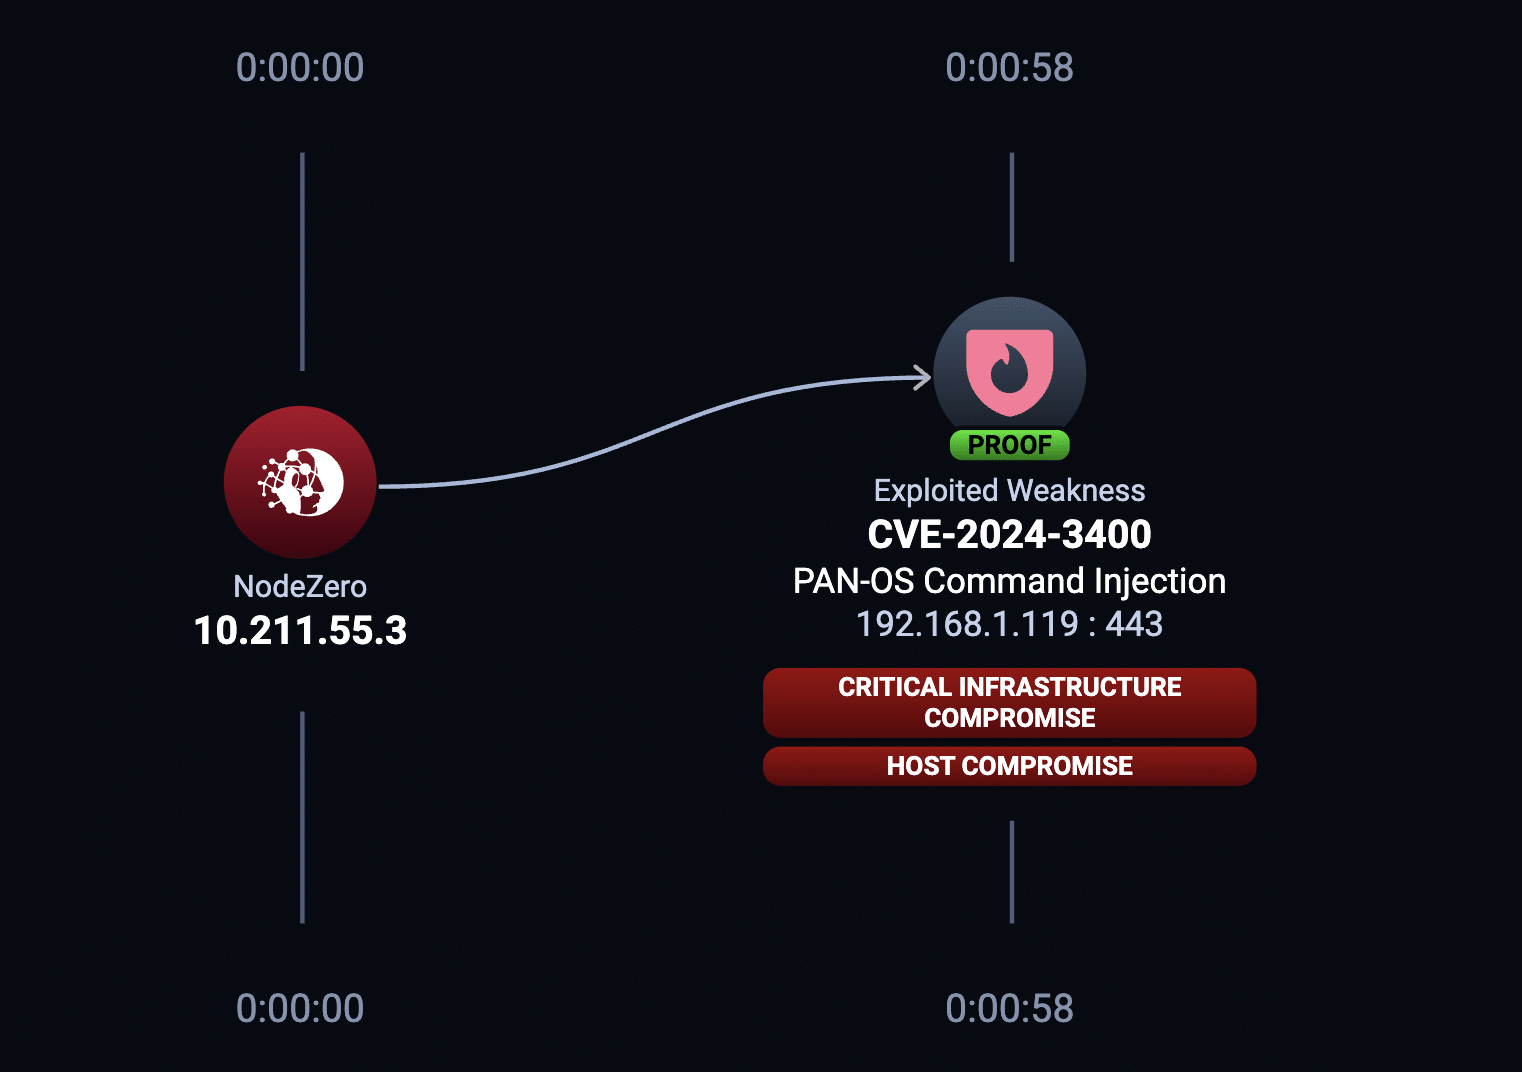
NodeZero Example Attack Path for CVE-2024-3400
Organizations who launch the above N-Day test would see something similar to the attack path below if their Palo Alto NGFWs were vulnerable to exploitation by NodeZero.
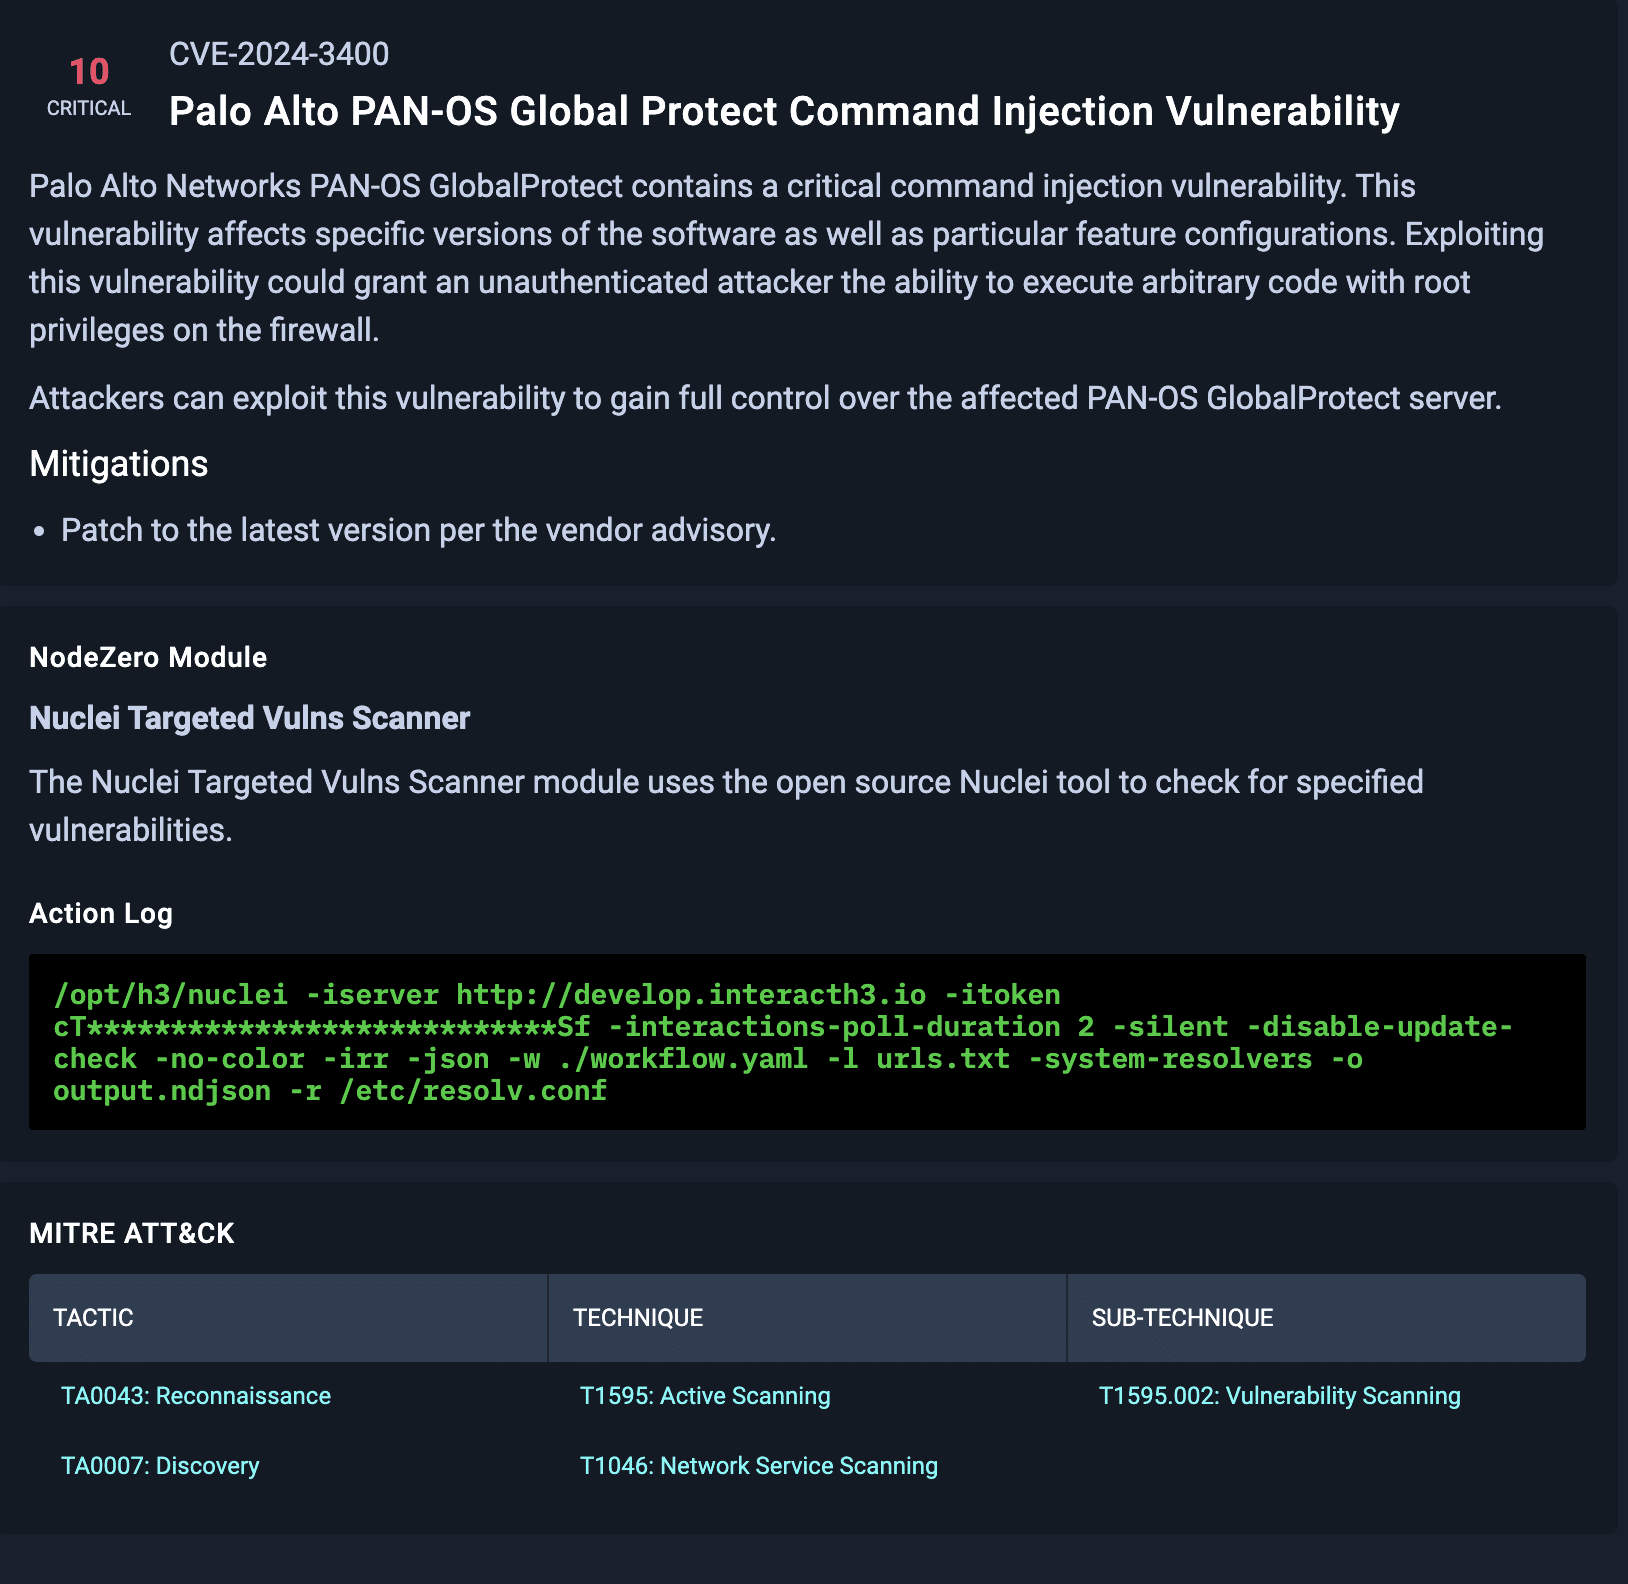
NodeZero Vulnerability Narrative and Mitigations Guidance
Below is a screenshot from NodeZero providing a short narrative about the vulnerability, mitigations, the NodeZero module used in the test, the action log, and the MITRE ATT&CK tactic.
Example Proofs of Exploitability
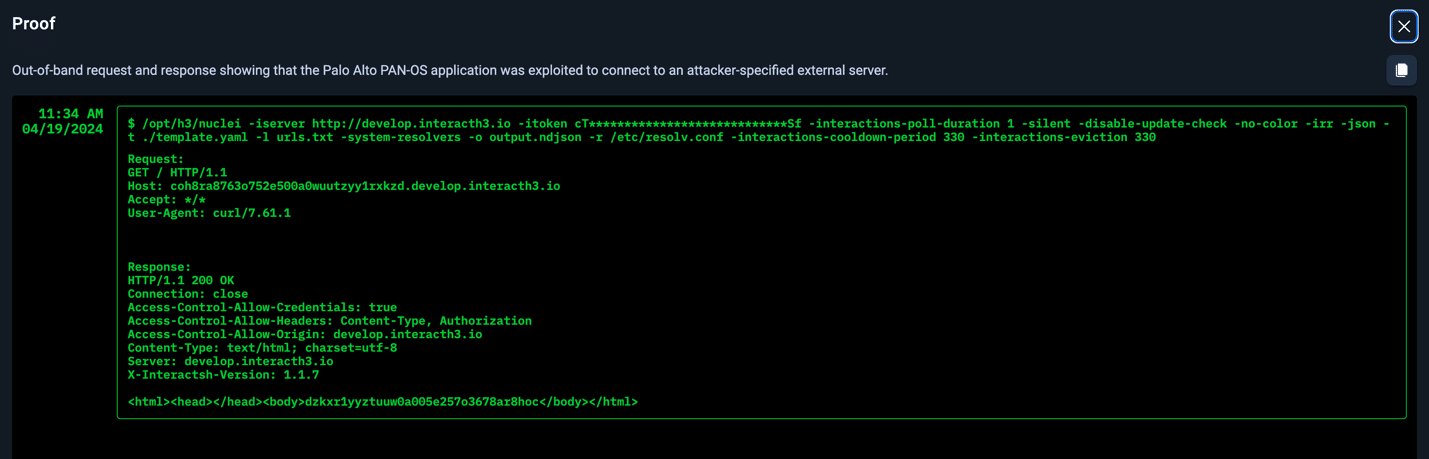
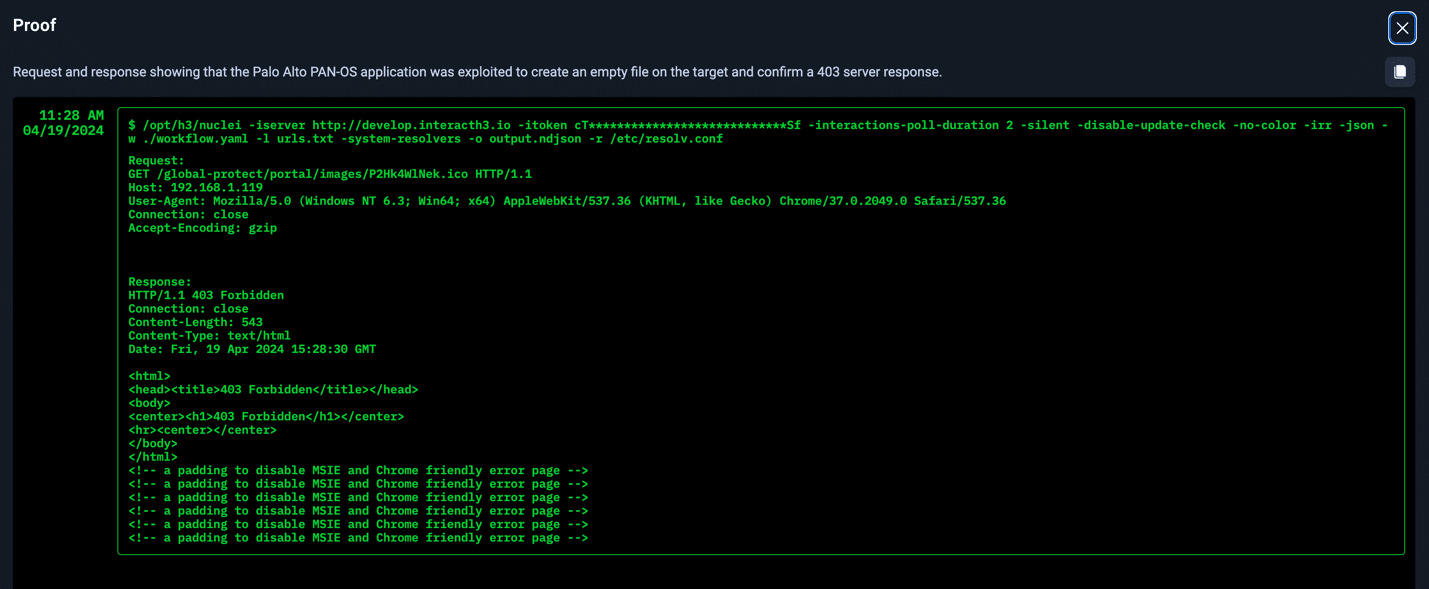
Not only does NodeZero provide an attack path, but it also lists impacts and weaknesses. Even more important, NodeZero provides proof of exploitability. Seeing this proof allows security teams to fully understand their risk, and in this case, highlights two examples of post exploitation outcomes. In both of these cases below, arbitrary code execution with root privileges was completely possible.
Proof #1: PAN-OS application exploited to connect to attacker-specified external server
Proof #: PAN-OS application was exploited to create an empty file on the target and confirm a 403 server response
More About the Vulnerability
CVE-2024-3400 was published on the National Vulnerability Database (NVD) on April 12. Palo Alto then updated their Advisory on April 20. Palo Alto previously noted that turning off device telemetry could mitigate the vulnerability, but that is no longer their guidance. Device telemetry does not need to be enabled for PAN-OS NGFWs to be exposed to attacks related to this vulnerability.
Affected Versions of PAN-OS
PAN-OS (10.2, 11.0, 11.1) with GlobalProtect Gateway or Portal enabled are affected. Palo Alto strongly advises customers to immediately upgrade to a fixed version of PAN-OS to protect their devices even when workarounds and mitigations have been applied.
Severity of the Vulnerability
NVD Analysts, who use publicly available information to associate vector strings and CVSS scores, assigned this vulnerability the Base Score of 10.0 Critical. Attackers being able to execute arbitrary code with root privileges via command injection is a worse-case scenario.
Exploitability (Current Scope of the Attack)
According to Unit 42, Palo Alto Networks is aware of an increasing number of attacks that leverage the exploitation of this vulnerability. Proof of concepts for this vulnerability have been publicly disclosed by third parties. Here is one example.
Added to CISA Known Exploited Vulnerabilities (KEV) Catalog
CVE-2024-3400 was added to the KEV on April 12 since the vulnerability was observed being exploited in the wild.
Conclusion
Horizon3.ai’s attack team’s rapid response to this critical vulnerability demonstrates the value the team provides in the context of advising our customers, researching the vulnerability, rapidly developing an exploit, making the exploit available on NodeZero, and proving the exploit works.
Today, customers of Horizon3.ai are actively testing their internal and external environments with NodeZero to determine their risk exposure, quickly remediating those risks, and verifying they are no longer exploitable to this known vulnerability.
Vulnerabilities like this represent a critical security risk and organizations must immediately patch their PAN-OS software to mitigate the possibility of exploitation, especially if the software is exposed to the internet with the GlobalProtect feature enabled.
The post NodeZero: Testing for Exploitability of Palo Alto Networks CVE-2024-3400 appeared first on Horizon3.ai.